|
|
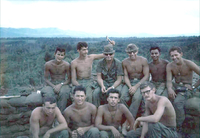
BB-66.JPG#4 Gun Section98 viewsOur #4 gun crew photo. Taken after some of the wounded guys came back along with 2 newly-assigned men.
Front L to R: Danny McMillan, Carl Willis, Charlie South and Sandy.
Back L to R: Bob Becker, Phil Orville, new Section Chief (UNK) Carlos Casteel, Bobby Gomez and UNK.
|
|
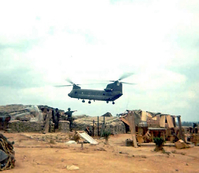
BB-6.JPGLanding on a dime97 viewsThe Chinook pilot places his chopper over the gun for the move.
|
|
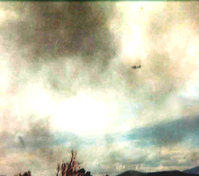
BB-87.JPGCounterattack97 viewsAir strikes coming in to support LZ Incoming. We had both prop jobs and jets.
|
|
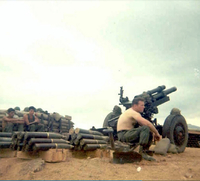
BB-13.JPGAnd there is always waiting....95 viewsWaiting on a fire mission. Me and Freddy with our backs against the wall. Sergeant Reedy sitting on the trail.
|
|
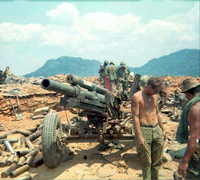
BB-78.JPGAftermath94 viewsElmer Lindsay (KIA) in the foreground at the #4 gun.
|
|
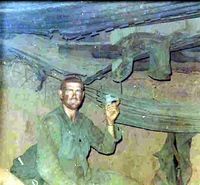
BB-79.JPGAftermath93 views"Big Red" is holding a mortar tail that came through the roof of the bunker. Sandy was WIA at that time.
|
|
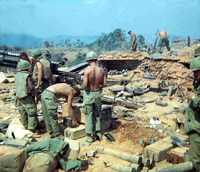
BB-77.JPGAftermath92 viewsContinuing the cleanup at the #4 gun.
|
|
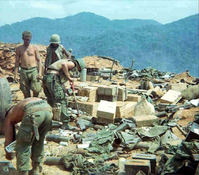
BB-76.JPGAftermath92 viewsGoing through things after mortar attack adn fire that swept the firebase.
|
|
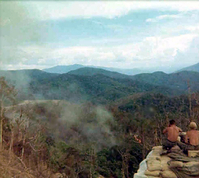
BB-86.JPGArtillery strike92 viewsInfantry grunt sitting on the roof of a bunker surveying the damage from the strikes.
|
|
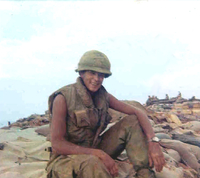
BB-88.JPGSitting pretty92 viewsBob Becker sitting atop a personnel bunker.
|
|
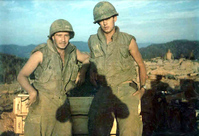
BB-90.JPGMcMillan and Becker91 viewsDanny McMillan and Bob Becker
|
|
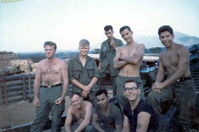
BB-26.JPGThe Whole Crew90 viewsThis is the #4 Gun Section prior to us going to LZ Incoming.
Back Row: Sgt Reedy (WIA), UNK, Phil Orville (WIA), Me.
Front Row: Danny McMillan, Bobby Gomez, Elmer Lindsay (KIA) and Carl Willis (not pictured).
|
|
|
|
