|
|
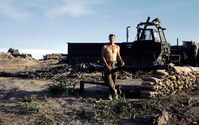
JFO-4.JPGFred stands next to a recoilless rifle. What a "bad boy" that weapon was! Nomenclature was the M40 recoilless rifle.
|
|
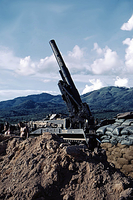
JFO-11.JPG"BUTCHERING BASTARD"Double-click on the photo and you will see the inscription of "Butchering Bastard" running down the 8" howitzer tube. This firebase had some serious weaponry.
|
|
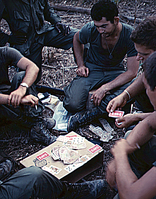
JFO-79.JPGA hand of bridge?Fish? Euchre? Not likely with the military play money at stake.
|
|
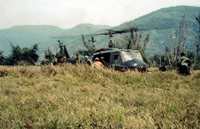
JFO-85.JPGAir DeliverySoldier in the foreground gives the Huey pilot the "thumbs up" to pull out. Delivery complete.
|
|
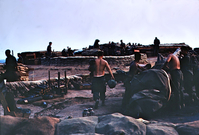
JFO-63.JPGAnother RSOPLooks like this battery is strapping up for a move to another location.
|
|
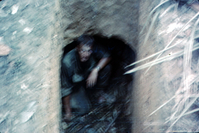
JFO-17.JPGAnother Tunnel Rat?FOs ain't supposed to investigate tunnel openings.
|
|
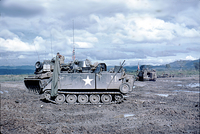
JFO-58.JPGAPC-113Armored Personnel Carriers worked in Nam...where they had roads, that is.
|
|
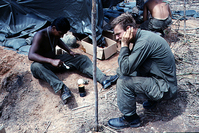
JFO-82.JPGC-RatsAll field troops knew the trick of using one C-rat can as a "mini-stove" and heating an otherwise cold can of rations. Note the improvised bedding of sand bags and an air mattress. Everyone, I'm sure, is familiar with the white plastic spoons.
|
|
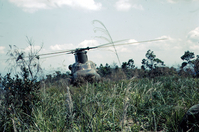
JFO-76.JPGCan land anywhereThis pilot proves he can land his Chinook anywhere.
|
|
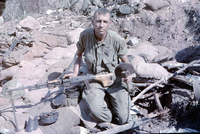
JFO-54.JPGCapt CarterThe guy holding the Chi-com machine gun is Capt Carter, who was the Company Commander of A/1/14. He was wounded a few days after this photo, and I think sent back to the States.
|
|
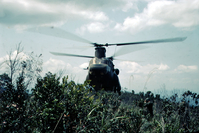
JFO-31.JPGCH-47A Chinook sneaks over a hill.
|
|
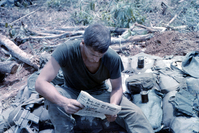
JFO-18.JPGChecking the newspaperJust like home...eat a meal, read the paper.
|
|
|
|
