|
|
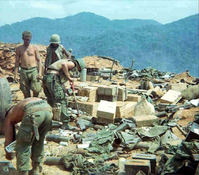
BB-76.JPGAftermathGoing through things after mortar attack adn fire that swept the firebase.
|
|
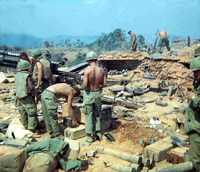
BB-77.JPGAftermathContinuing the cleanup at the #4 gun.
|
|
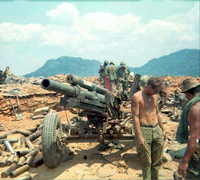
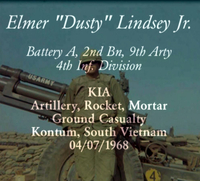
BB-78.JPGAftermathElmer Lindsay (KIA) in the foreground at the #4 gun.
|
|
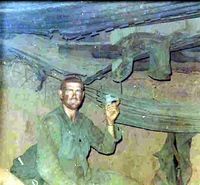
BB-79.JPGAftermath"Big Red" is holding a mortar tail that came through the roof of the bunker. Sandy was WIA at that time.
|
|
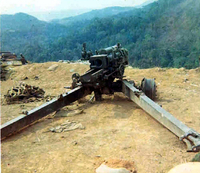
BB-80.JPGAftermathThis is the appearance of the #4 gun after it was hit.
|
|
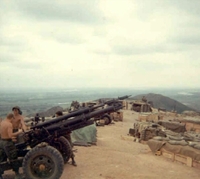
BB-11.JPGAerial view?Gun emplacements high on the mountain top.
|
|
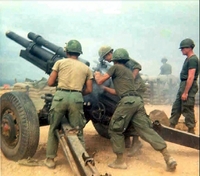
BB-24.JPGA Working CrewThe fire mission continues. I don't think Ft Sill allowed cannoneers to straddle a trail; they kinda frowned on that.
Casteel, Martinez, me and Reedy working the cannon.
|
|
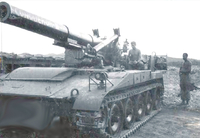
BB-55.JPG8" Self PropelledChecking out the big 8"; it is the most accurate howitzer in the FA inventory. We couldn't test it out, though.
|
|
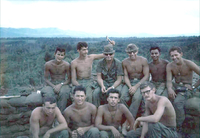
BB-66.JPG#4 Gun SectionOur #4 gun crew photo. Taken after some of the wounded guys came back along with 2 newly-assigned men.
Front L to R: Danny McMillan, Carl Willis, Charlie South and Sandy.
Back L to R: Bob Becker, Phil Orville, new Section Chief (UNK) Carlos Casteel, Bobby Gomez and UNK.
|
|
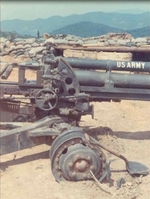
BB-91.JPG#4 Gun destroyedOur #4 gun was hit with a recoilless rifle round. If you double-click and enlarge the photo, you can actually see where shrapnel penetrated the gear box.
|
|
Lindsay_KIA.JPG
|
|
BB-73.JPG
|
|
|
|
