|
|
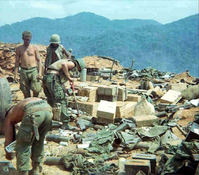
BB-76.JPGAftermathGoing through things after mortar attack adn fire that swept the firebase.
|
|
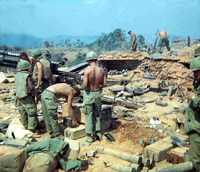
BB-77.JPGAftermathContinuing the cleanup at the #4 gun.
|
|
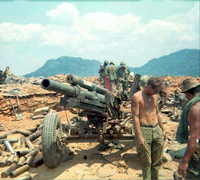
BB-78.JPGAftermathElmer Lindsay (KIA) in the foreground at the #4 gun.
|
|
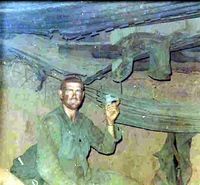
BB-79.JPGAftermath"Big Red" is holding a mortar tail that came through the roof of the bunker. Sandy was WIA at that time.
|
|
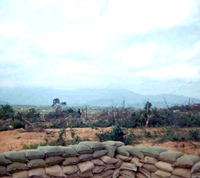
BB-8.JPGFacing LZ RossThis view is from LZ Colt facing toward LZ Ross.
|
|
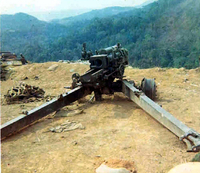
BB-80.JPGAftermathThis is the appearance of the #4 gun after it was hit.
|
|
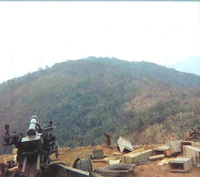
BB-82.JPGAftermathThis is the #4 gun looking towards LZ Mile High.
|
|
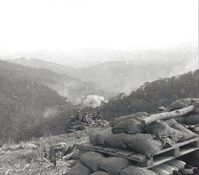
BB-83.JPGArtillery strikeWe are watching artillery rounds landing in the valley below.
|
|
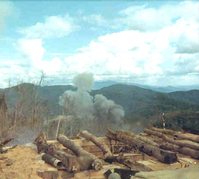
BB-84.JPGArtillery strikeMore rounds landing in the valley.
|
|
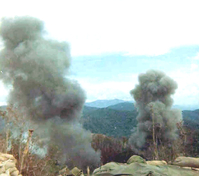
BB-85.JPGArtillery strikeArtillery rounds landing close to our perimeter.
|
|
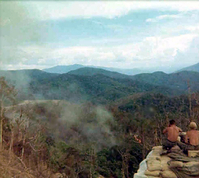
BB-86.JPGArtillery strikeInfantry grunt sitting on the roof of a bunker surveying the damage from the strikes.
|
|
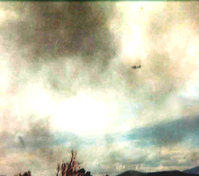
BB-87.JPGCounterattackAir strikes coming in to support LZ Incoming. We had both prop jobs and jets.
|
|
|
|
