|
|
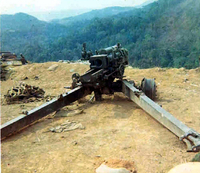
BB-80.JPGAftermathThis is the appearance of the #4 gun after it was hit.
|
|
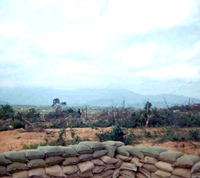
BB-8.JPGFacing LZ RossThis view is from LZ Colt facing toward LZ Ross.
|
|
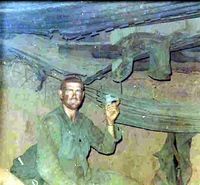
BB-79.JPGAftermath"Big Red" is holding a mortar tail that came through the roof of the bunker. Sandy was WIA at that time.
|
|
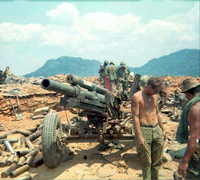
BB-78.JPGAftermathElmer Lindsay (KIA) in the foreground at the #4 gun.
|
|
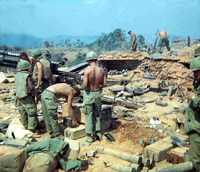
BB-77.JPGAftermathContinuing the cleanup at the #4 gun.
|
|
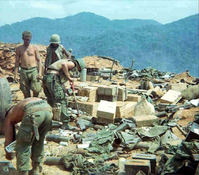
BB-76.JPGAftermathGoing through things after mortar attack adn fire that swept the firebase.
|
|
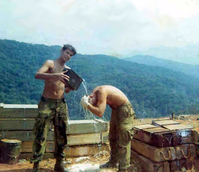
BB-75.JPGCleaning upBob Becker and Danny McMillan are cleaning up 20 minutes before the first recoilless rifle round hit the firebase.
|
|
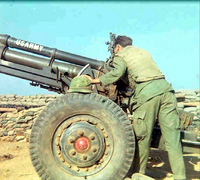
BB-74.JPGChecking the sightsElmer Lindsay (KIA) is looking through the Gunner's sights.
|
|
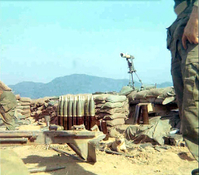
BB-73.JPG
|
|
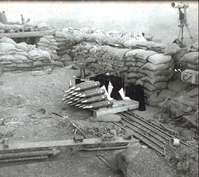
BB-72.JPGBig bullets on standingAll set and ready to go for the next fire mission.
|
|
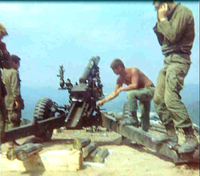
BB-71.JPGAG is ready"Big Red" is the one standing on the trail with fingers in ears.
|
|
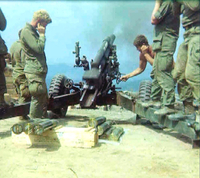
BB-70.JPGFingers in earsAt left, plugging ears on the #3 gun is Bob Madison. The others are UNK.
|
|
|
|
